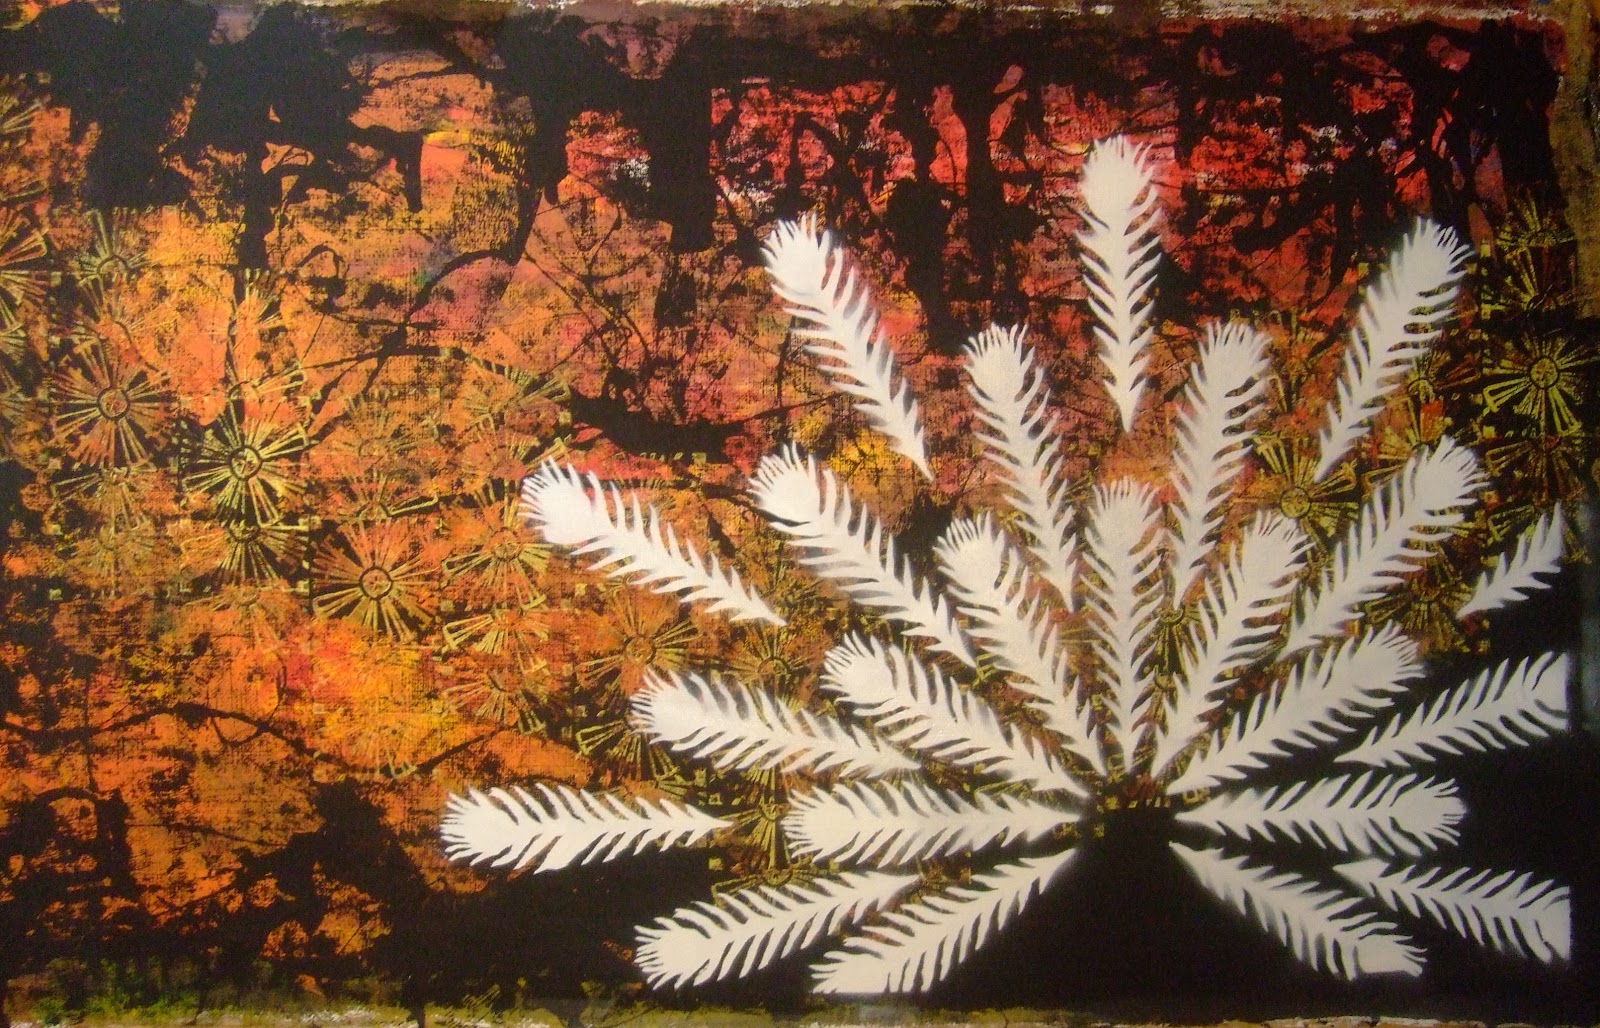
Work continues slowly. After cutting the stencil for the fan of feathers and placing it on the background, I found the Contact paper stencil was not adhering well to the acrylic (much of it had residual paper stuck to it). I left the picture alone for about 6 weeks while I tried to resolve the issue. Last week I was in a bookstore and came across Stencil 101 by Ed Roth. I was not interested in the included stencil. I was interested in a section describing the production of your own stencils. This hit me like a lightning bolt and I wondered, "Why has no one told me about this method before!?!" I read about Mylar sheets, stencil burners, pouncer brushes and spray-on, re-positionable adhesive! My answer was found. On the same trip I picked up all the supplies listed for future projects (Lincoln's head is on its way...), including the spray-on adhesive for use in this project. I carefully removed my stencil from the background, sprayed it with the adhesive, let it dry for sixty seconds (minimum) and replaced it on the background before applying the white spray paint. There were issues of the stencil not sticking in some places and the stencil curling in high-detail areas after the application of spray paint. This provided a nice amount of tolerable and interesting variation between feathers of the fan. After three coats of white paint I removed the stencil and the picture below is the result.

Have To (working title). 4'x7'. Mixed media (acrylic, spray paint).
The next part will include the application of color, design and prints to the individual feathers. The final piece will be the character displaying the fan of feathers.